Project Mouse - Leading Up To the Magic

Oh my goodness. Here we go again! Sahlin Studio and I have an all-new series of Project Mouse cards to release today. Are you ready???

Leading Up To the Magic


When does a Disney vacation really begin? For me, it happens long before I ever walk through a turnstile. That "magic before the trip" is what today's release is all about. All of today's products are here to help you record, document, and even MAKE memories leading up to the magic. And of course, they are all made to coordinate with "Project Mouse: Bundle No. 1"!

(Krista & I have more freebies for you too at the end of this post so make sure you read all the way to the end!)

Ok - lets get to the products!!!

"Project Mouse: Bundle No. 2 - Leading Up To The Magic"


Each pack is sold separately too:

"Project Mouse: Reveal/Countdown"


"Project Mouse: Planning"


"Project Mouse: On Our Way"


"Project Mouse: We're Here!"


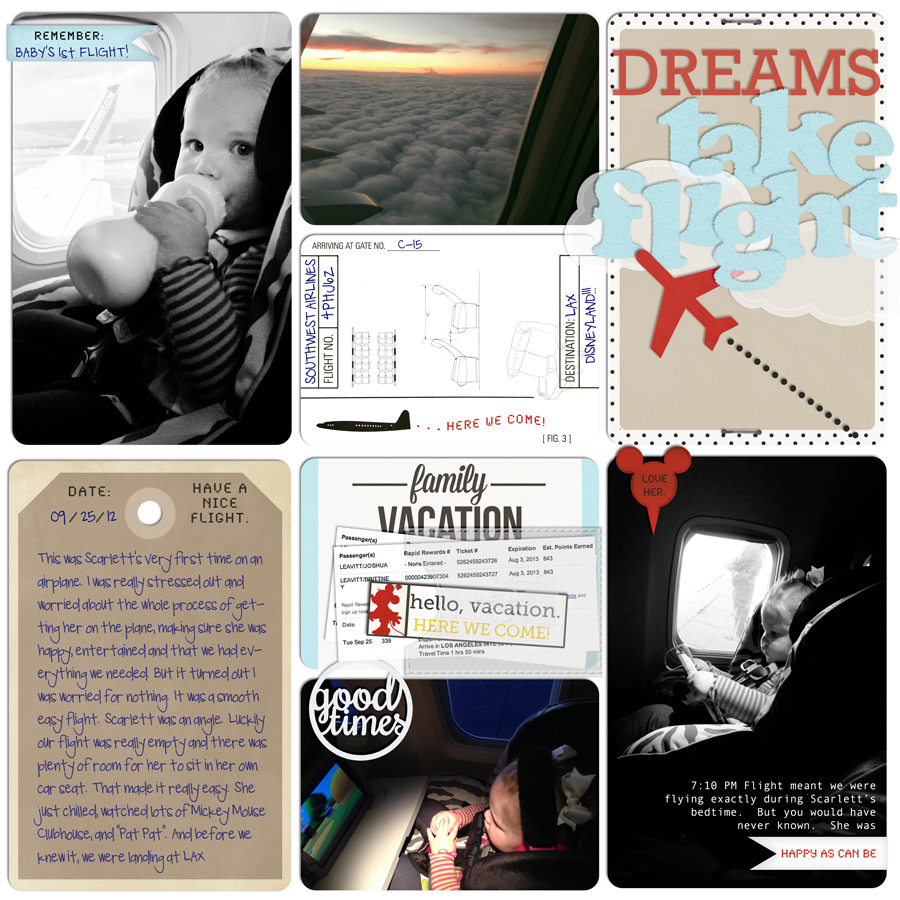
I was so excited to dive in and use these card packs for myself!! As you know, I'm conducting a little "experiment" by trying to scrap my entire Sept 2012 Disneyland trip Pocket Style - and Project Mouse is DEFINITELY getting me there. Today's packs gave me the tools, inpiration and push I needed to scrap a big milestone that happened on this trip. Scarlett's FIRST plane ride:


Krista is still making serious ground on her hybrid pocket style album. I love that she's creating magic with her entire family BEFORE her trip even takes place - and documenting it all!


Is that fun, or what? LOVE her pages.

My Britt Girls scrapped such a WIDE variety of page themes and styles using the new Bundle 2 cards:

by Wendy


by Stacy


by Shantell


by Natasha


by Melissa


by Melinda


by Kelsy


by Julie


by Jan


by Fonnetta


by Denise


by Christie


by Chelle


by Alexis


by Justine

Make sure YOU come share your Project Mouse creations with us in the Project Mouse Flickr Group!! (And in my gallery of course too!)

Despite the Project Mouse madness - I haven't forgotten about Show Offs! Here is today's slideshow FULL of awesome layouts featuring Britt-ish Designs products:


If you were a Show Off this week, watch your email inboxes. You are all getting a free paper pack of your choice as your gift this week.

(find out more about Show Offs here)


One last thing before I go - there's the matter of those freebies I mentioned before! I created this little set of tags and pointers. You might have mentioned them in my Britt Girls' pages. They are FREE for your personal-use only.


[CLICK IMAGE TO DOWNLOAD]

Krista Sahlin has a free set of cards for you today. Be sure to stop by her blog to snag it.

I hope you are all enjoying Project Mouse. I LOVE seeing those pocket style pages (both Disney and non-Disney alike) around digi-land! Keep up the amazing work and have a magical weekend (hopefully full of scrapping)!

Project Mouse Page Breakdown

Hello Scrappers!! I'm so excited about the response Project Mouse is getting. It sounds like many of you are ready to dive into Pocket Style scrapbooking and document your memories - both Disney and non-Disney alike. I want to thank everyone for their support of Project Mouse on its debut and tell you - you are going to LOVE what's coming next!! Definitely stay tuned.

Today I thought I'd give you a page breakdown about how I put together a Project Mouse layout.


I know when I first started trying out this style I found myself a little stuck on just how to "make it work" as my pal Tim Gunn says. Maybe this will help!

Here's the page I scrapped tonight:


I actually timed myself because I was curious how long I currently take to put together a Project Mouse style page. If you remember - one of my goals in creating pages this way was to see if its really as quick and efficient as I think it is!
Goals of my experiment:
1) To see if I like Pocket Style enough for an entire album.
2) To see how much I miss creating and then looking at traditional pages in my trip album.

-->  3) To see how long it takes, and if pocket-style is really as quick and efficient as I think it is.

Once I had picked out my photos, I set the timer and went to work.

I edited my photos (brightened them up and ran an action on them), decided on my arrangement and got my page laid out. I was already to this point only 11 minutes in!!


The rest of the page took another 40 minutes. So 50 minutes total. Not too shabby, BUT I know I could have been much faster. I got hung up on my title and a couple other dumb things. Plus, I have to keep in mind I'm still getting the hang of pocket style scrapping. The more I do it, the faster I'll get. Also, journaling takes time. Writing it, getting it placed right, etc. So if you're not big into journaling, your pages can probably be done MUCH quicker.

Ok - let's get to the BREAKDOWN!!

Supplies used:

 As you can see, this particular layout has 8 sections or "pockets". I didn't use a template or anything like that. I just used the basic 3x4 and 4x6 cards and arranged them until I was happy. I had 1 photo that I REALLY loved that I knew I wanted to be nice and big, so I took up 2 4x6 spots for it. This is one of the things I love about doing DIGITAL pocket style, you can create whatever arrangement works for your photos instead of being limited to the page protectors.

1) My title card: "While We Wait". I wasted too much time fiddling with my title. I tried to use a font and create sort of a graphic looking title, but it just wasn't working! Grrr. Then I remembered seeing a ton of my Britt Girls use the alpha from my kit "Just Plain Fun" on their Project Mouse pages. Turned out perfect. Added a Mickey head button for accent and a couple staples. I'm addicted to using staples. At the last minute I added some white paint splatters using some free paint splatter brushes I downloaded online. I don't even remember exactly where, I've had them for so long. Oh and & I should mention I also rounded all my corners using the free corner rounding action that's included in our card packs.

2) Just a photo with a word strip and sequins from the Project Mouse embellishments pack. Simple enough!

3) One of my FAVORITE photos from the entire trip. I don't know why, but its just so sweet to me. So I made it nice and big (this is from my PHONE can you believe that? It was plenty big enough right off my phone. I thought a big graphic word overlay would look cute on it, so I added "COUSINS" with the tracking (aka the space between the letters) set to -75. Then I quickly added a heart shape (used the Photoshop custom shape tool). The heart and text were white, but I turned the blending mode to "Soft Light" for a more subtle look. I added a hexagon journaler hanging off the side of the page so it looks sort of like a tab and made a simple date strip in yellow because I realized right side of the page didn't have any pops of yellow and it felt unbalanced.

4) A cropped photo with a flower, word strip, and washi tape from the Project Mouse: Embellishments pack. Easy peasy.

5) I love this card from the Quote Cards Pack. I thought a page about waiting was a perfect time to use it. More white paint splatter brush work. I think I used the splatters to give the overall look of the page a less of a stiff boring feel.

6) One of two journaling cards. This is actually a 4x6 card from the Project Mouse: Basics Card Pack. It's easily cropped to a 3x4 size! Perfect. I'm trying to keep my handwriting font consistent througout my Project Mouse book for this trip. And I had the idea on my first page to make the text blue so it looks like I handwrote it all with a blue ink pen. I sort of love how this looks! The font I'm using is Pea Lauren America. I picked it because I like it AND it sort of looks like my own handwriting! Only cuter.

7) Another photo put into a 3x4 rounded corner spot. Tiny bit of paint splatter in the corner.

8) Another journaling card from the basics pack. Used a little arrow to point to the photo I was talking about. Added a washi tape up top and a bow for a cute girly touch.

DONE!! That's it! Just like that I've recorded some vacation stories, details, photos and memories. I'm still getting the hang of the look and feel I like for my Project Mouse pages.  But the more I play, the more I'll nail down the style I want.

I hope this helped you get some ideas when putting together your own Project Mouse pages. Be sure to come share your creations with us at the Project Mouse Flickr Group. There's already a tons of awesome layouts to browse through there. Bookmark it as a place to look for ideas and inspiration!

Stuffed With Fluff

Some of you will recognize a few of today's new products from the Speed Scrap marathon at MouseScrappers a couple weeks back! But even if you were a FULL marathon completer, there's something new today for you too!

Let's get to it. . .

"Stuffed With Fluff"


"Stuffed With Fluff: Alpha"


"Stuffed With Fluff: Plaids"


"Card Collection: Stuffed With Fluff"


I had SO much fun making these cards! I made some others in the "Card Collection" series, and I knew I wanted to make more. I LOVE how this set turned out. I hope you guys do too. They are the perfec size (3x4) for all you Projet Lifers out there!! You'll be able to see all the different ways my Britt Girls were able to use the cards from Project Life, to photo mats, to journaling cards and more! I think you'll definitely be seeing many more Card Collection packs from me in the future!!

Want to buy it all? Well, great! I bundled EVERYTHING up into one full collection at a discounted price!

"Stuffed With Fluff: The Collection"


All of these products coordinate perfect with my "Friendly" mini kit, so make sure you check that if you don't already have it.

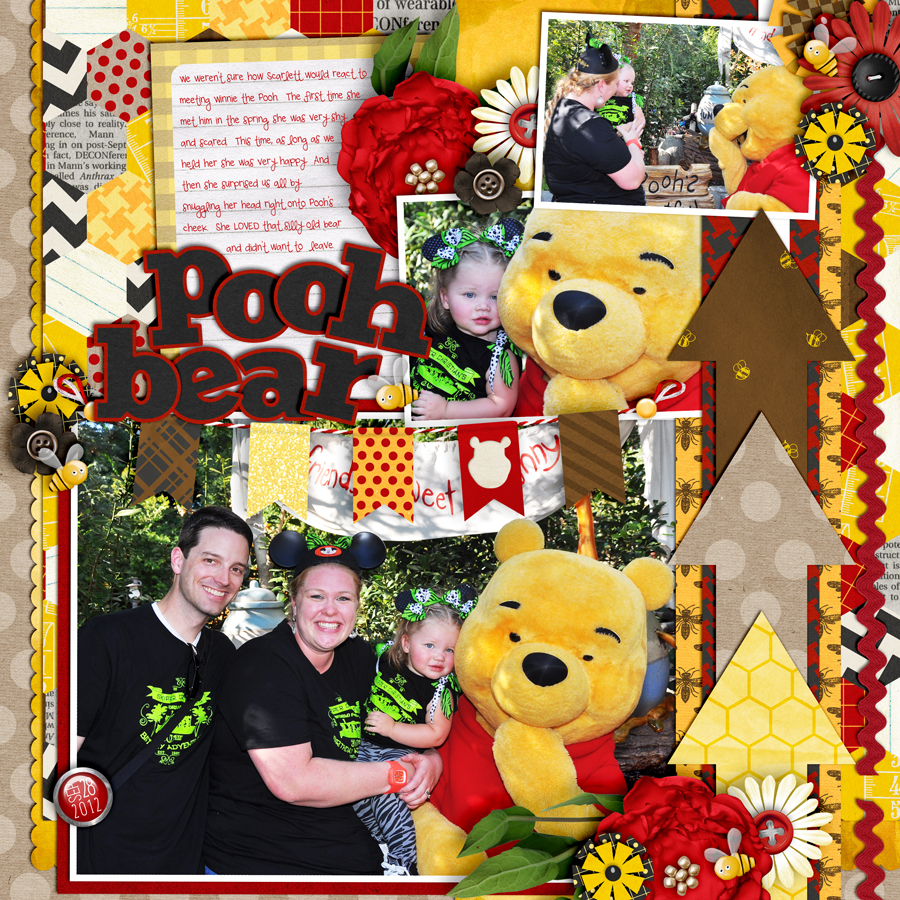
Here are the pages I scrapped. The first one is the one I made at our Speed Scrap.


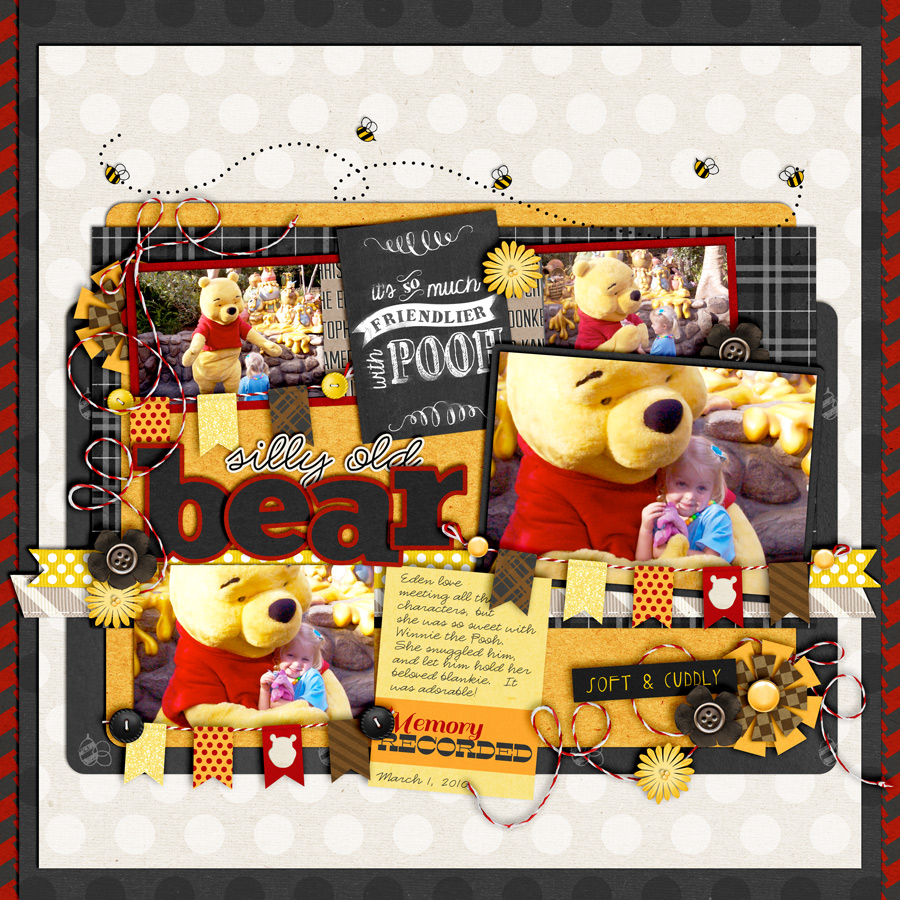
And another one I made this week. I reached all the way back to 2010 for these photos!! I knew they'd be perfect with this new stuff.


My Britt Girls completely rocked this collection!! I'm going to show you how they used it for your regular Disney and Winnie the Pooh themed pages first. (Notice how these colors are totally Mickey's colors too!?) And then I'll show you how it COMPLETELY works for non-Disney related pages, even weekly Project Life pages.

Ok - Disney pages first:

by Holly


by Chelle


by Becca


by Shantell


by Melissa


by Melissa


by Wendy


by Tanya


by Melinda


by Krista


by Jan


by Jan


by Kat


by Julie


by Christie


by Heather


And now let the Britt Girls show you how you can use these products for non-Disney pages and projects:

by Denise


by Melinda


by Kelsy


by Fonnetta


by Justine


by Erica

Amazing, huh?? Thanks so much to my fantastic Britt Girls for all they do to show off my products so wonderfully.

Well, I hope you're lovin' this Stuffed With Fluff collection. I sure had a blast making it and scrapping with it (which is usually a good sign!). Have a magical weekend!!